Showing posts with label obdstar key master g3. Show all posts

Wednesday, 14 August 2024

OBDSTAR X300 Classic G3 Program 2024 Mazda CX-5 All Keys Lost

Today we'll demonstrate how to program the 2024 Mazda CX-5 all keys lost with OBDSTAR X300 Classic G3 by OBD.

obdstar-x300-classic-g3-program-2024-mazda-cx5-1

Tools Required:

OBDSTAR Key Master G3

2 Blank Keys

Main Cable


Operation

Connect the device to your vehicle with the main cable.


IMMO >> MAZDA >> Latest Version >> Manual Select Model >> CX-5 >> PROXIMITY >> 2018- >> TYPE 1 >> All Smart Keys Lost

obdstar-x300-classic-g3-program-2024-mazda-cx5-2

obdstar-x300-classic-g3-program-2024-mazda-cx5-3

obdstar-x300-classic-g3-program-2024-mazda-cx5-4

obdstar-x300-classic-g3-program-2024-mazda-cx5-5


All the smart keys out of the car 1 meter away.


Press and hold the vehicle start button for 10s, Start button indicator lights from green to yellow. Press the start button again, and turn on the instrument.


Instruction

All smart keys will be erased.

Mini keys are required: 2


Is ignition status open? Yes

When figuring out how to configure the system, please wait for about 7 minutes. After 7 minutes, the speaker will ring.


Current number of smart keys: 0

Switch the ignition off.


Note:

Turn on the ignition.

When the indicator of the start button turns green(within 5 seconds), attach the marker side of the smart key to the start button!


The current number of keys: 1

The program is successful, do you want to program the next one? Yes

Just repeat the operation as before.

The current number of keys: 2

Press No to continue.

obdstar-x300-classic-g3-program-2024-mazda-cx5-6

obdstar-x300-classic-g3-program-2024-mazda-cx5-7

obdstar-x300-classic-g3-program-2024-mazda-cx5-8


You have to complete the following procedure, before the engine can be started:

1. Switch ignition off.

2. Put on the brakes, turn all the programmed keys to the start button to start the engine for 3s, then switch the ignition off.

Program complete.


Test the keys, both can work successfully.

Done.

obdstar-x300-classic-g3-program-2024-mazda-cx5-9

www.obd2shop.co.uk


Monday, 27 May 2024

OBDSTAR X300 Classic G3 Manual: Transfer Files Using USB Flash Drive

This post will guide you on how to transfer files using a USB flash drive on your OBDSTAR X300 Classic G3 Key Programmer.

Procedure:

Step 1. Insert the USB flash drive into the USB port of your device.

Step 2. Expand the hidden menu at the bottom of the desktop and select [ES File Explorer] to open it. In the left menu, select [Local] > [Home]. The block under the Internal Storage block is for USB storage.

obdstar-x300-classic-g3-transfer-files-using-usb-flash-drive-1

Step 3. Open [Internal Storage], select any folder (or open the folder to select files) and hold. An empty circle will appear under each file, and function buttons such as copy, cut, delete, and rename will appear at the bottom right. Select the folder (or file) you want to transfer, the circle under the selected folder will be marked with a checkmark and turn green, then tap [Copy].

obdstar-x300-classic-g3-transfer-files-using-usb-flash-drive-2

Step 4. Go back to the Home tab, then select the storage for the USB you inserted.

obdstar-x300-classic-g3-transfer-files-using-usb-flash-drive-3

Step 5. Open the [Usb Storage] folder and all the folders in the USB drive will be displayed (See example below). Paste the copied folder (or file) to the desired location.

obdstar-x300-classic-g3-transfer-files-using-usb-flash-drive-4

Step 6. After everything is done, just pull out the USB flash drive.

For more information about OBDSTAR X300 Classic G3 please follow www.obd2shop.co.uk

Friday, 10 May 2024

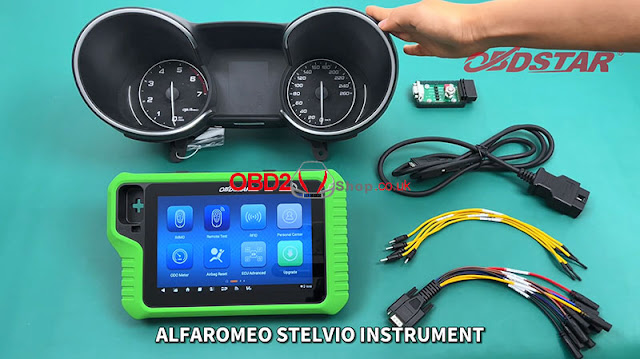
Alfa Romeo Stelvio Instrument ECU Unlock via OBDSTAR X300 Classic G3

This post will guide you on unlocking the used instrument ECU for Alfa Romeo Stelvio using the OBDSTAR X300 Classic G3 key programmer.


The tools we need:

Alfa Romeo Stelvio Instrument

X300 Classic G3

P004 Adapter

Main Cable

P004 ECU Clone Jumper

alfa-romeo-instrument-unlock-via-x300-classic-g3-1

Procedure:

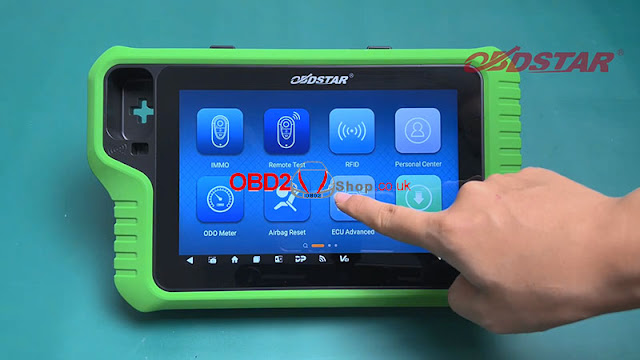
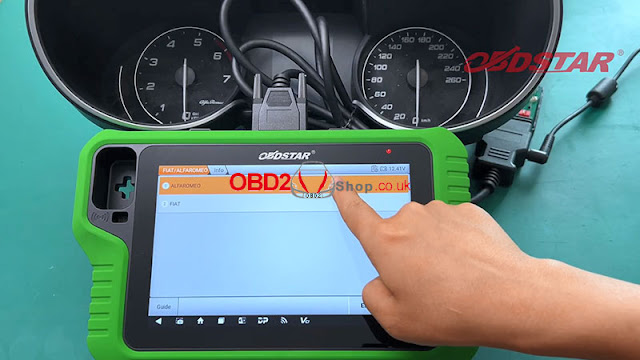
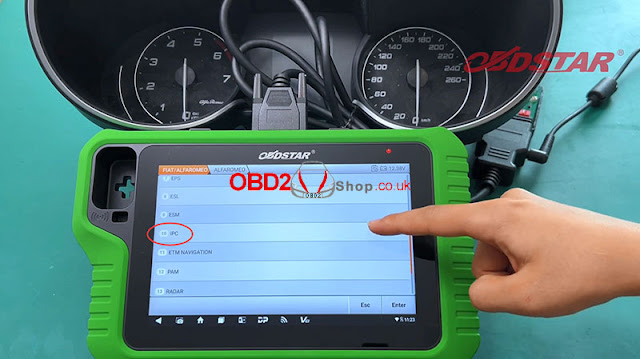
First, we select [ECU Advanced] >> [FIAT/ALFARMEO] >> [FIAT/ALFARMEO V30.04] >> [ALFARMEO] >> [IPC]

alfa-romeo-instrument-unlock-via-x300-classic-g3-2

alfa-romeo-instrument-unlock-via-x300-classic-g3-3

alfa-romeo-instrument-unlock-via-x300-classic-g3-4

alfa-romeo-instrument-unlock-via-x300-classic-g3-5

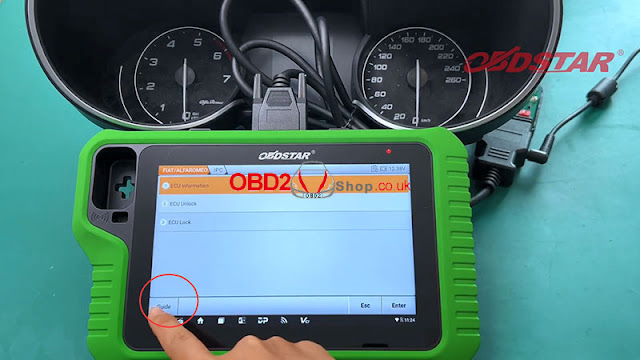
Click [Guide] in the lower left corner of the X300 Classic G3 tablet, and carefully read the development background and operation methods.

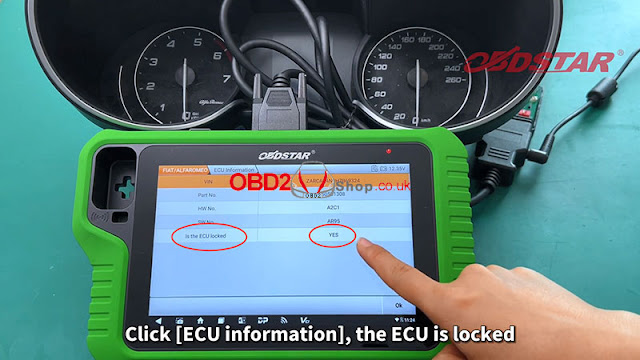
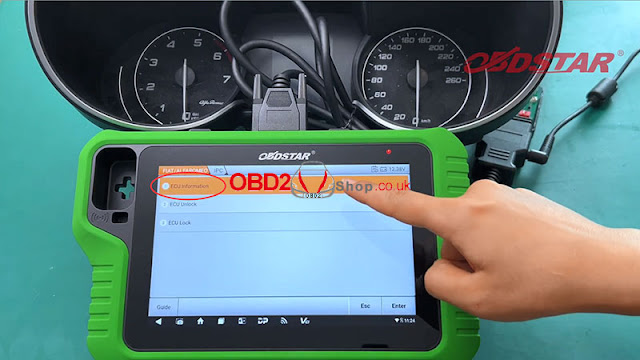
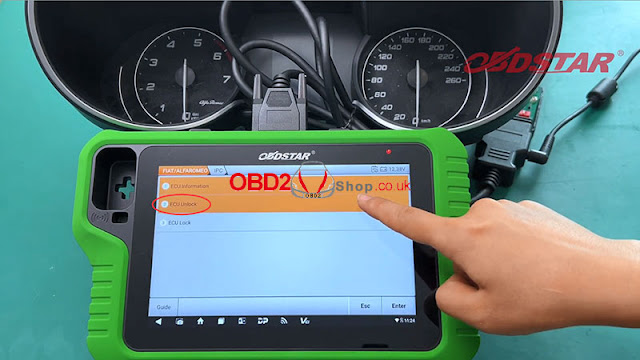
Then click [Back] to return to the previous interface, and select [ECU information] to view the information, we can see that ECU is locked here.

Then we select [ECU Unlock] to unlock.

alfa-romeo-instrument-unlock-via-x300-classic-g3-6

alfa-romeo-instrument-unlock-via-x300-classic-g3-7

alfa-romeo-instrument-unlock-via-x300-classic-g3-8

Information:

This function is available by connecting the server, please ensure the internet connection is normal.


We click "OK" to continue.


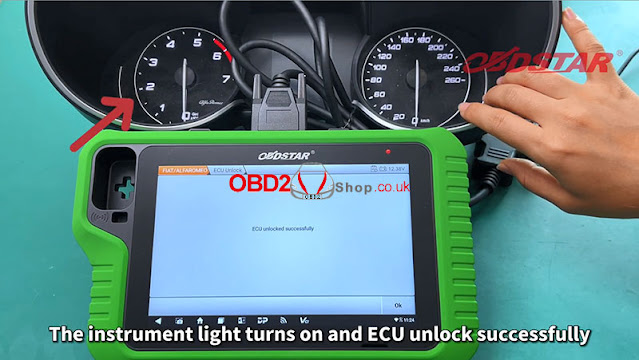
The instrument light turns on and the ECU unlocked successfully.

alfa-romeo-instrument-unlock-via-x300-classic-g3-9

alfa-romeo-instrument-unlock-via-x300-classic-g3-10

Video Guides:

www.obd2shop.co.uk

Sunday, 21 April 2024

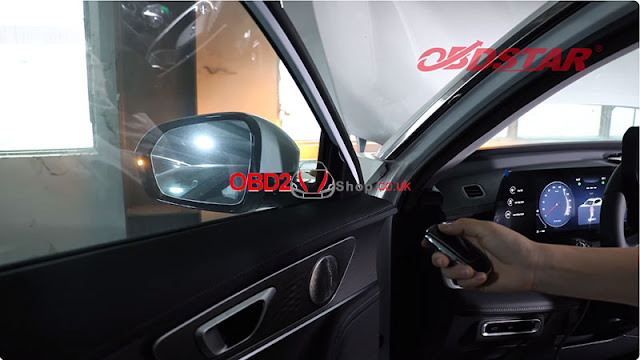
OBDSTAR X300 Classic G3 Chery Tiggo 8 Pro Proximity Key Programming

This post will guide you on how to use OBDSTAR X300 Classic G3 to do Chery Tiggo 8 Pro proximity key programming.


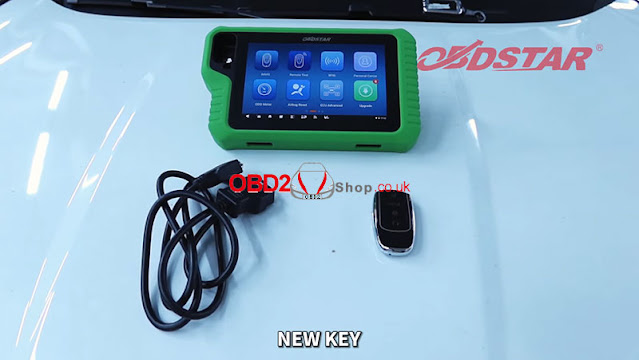
The tools we need:

X300 Classic G3

M001 Main Cable

New Key

obdstar-g3-chery-tiggo-8-pro-proximity-key-programming-1

Procedure:

Connect OBDSTAR X300 Classic G3 to the car through M001 Main Cable

Select [IMMO], enter "Chery" to search, and select [CHERY/COWIN/JETOUR/EXEED]>>[Manual Select Model]>>[TIGGO]>>[TIGGO 8 PRO]>>[PROXIMITY]


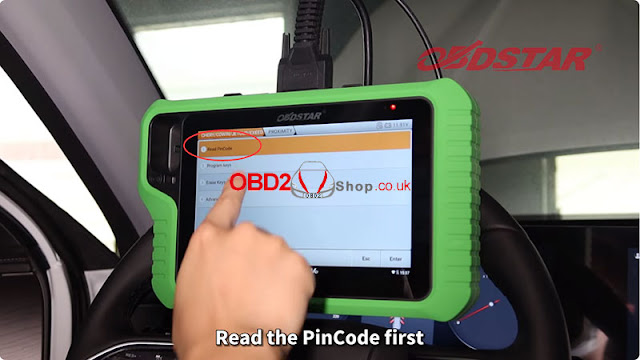
Step 1. Read PinCode

Choose [Read PinCode]

obdstar-g3-chery-tiggo-8-pro-proximity-key-programming-2

obdstar-g3-chery-tiggo-8-pro-proximity-key-programming-3

Step 2. Program keys

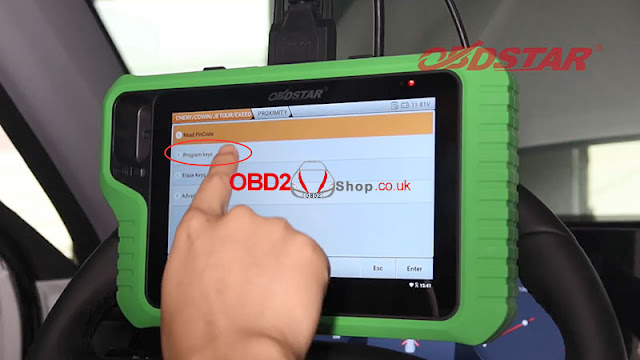
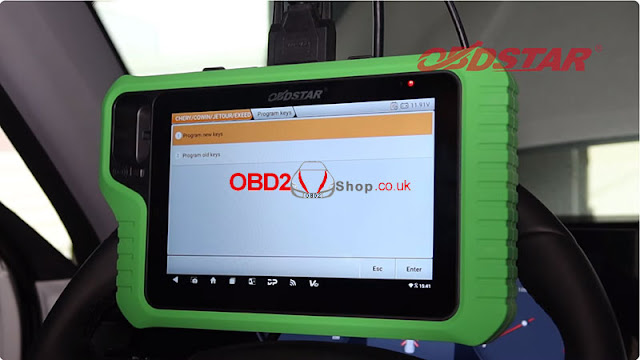
Choose [Program keys]>>[Program new keys]

obdstar-g3-chery-tiggo-8-pro-proximity-key-programming-4

obdstar-g3-chery-tiggo-8-pro-proximity-key-programming-5

Information:

If it is a blade key please insert it into the keyhole;

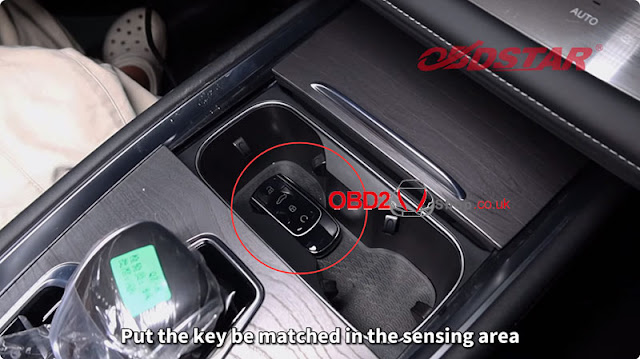
If it is a proximity key. Please put the key to be matched in the sensing area and take the other keys out of the vehicle

The sensing area may be located at:

1. Cup holder (some models require moving the cup holder away)

2. Below the cigarette lighter or USB port

3. Near the gear lever


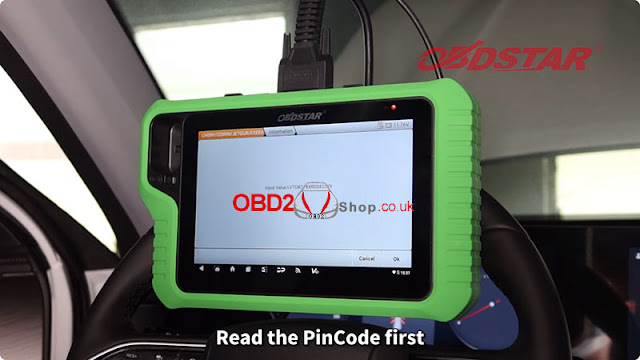
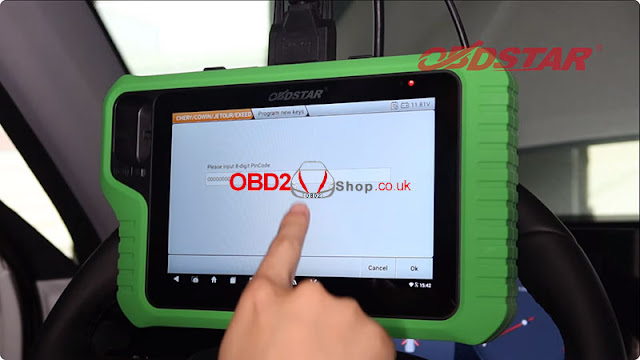
Put the key matched in the sensing area, and input the PinCode just read.

obdstar-g3-chery-tiggo-8-pro-proximity-key-programming-6

obdstar-g3-chery-tiggo-8-pro-proximity-key-programming-7

End of function execution!


The proximity key programming is completed.

obdstar-g3-chery-tiggo-8-pro-proximity-key-programming-8

Video Guides:


www.obd2shop.co.uk

How to Bind Your Device to OBDSTAR APP? (2025 Latest Guide)

This article will guide you through the process of binding your device with the OBDSTAR app to enable seamless integration between the repa...